

Want to start a mom blog? Well, you are in luck. In this post, I share a step by step process of how to start a mom blog for beginners and make money.
A lot of stay at home moms are looking for ways to make money from home and blogging is my favorite online job that I recommend to moms.
The flexibility to work from home and make money to support in your family finances is the more reason to start a blog today.
Starting a blog is easy and everyone can do it.
Here is a step by step guide on how to start a mom blog that will make you money in no time.
1. Decide your blog niche
The first step of starting a mom blog is to identify what you want to write about. Deciding a blog topic is sometimes hard to many people- I really struggled on what to blog about.
For instance, I considered blogging about weight loss because I wanted to share my weight loss journey (jumping rope and intermittent fasting worked for me).
I went ahead and wrote an article but I got bored writing about weight loss and completing that one article took forever. After brainstorming, I realized I always share ways of making money online with my friends and family – so why not blog about money? And the good thing is that I love this topic and I don’t struggle writing about it.
My advice to you is, find out your hobbies and what you are passionate about. It is also important to research whether those topics are profitable or not.
You don’t want to waste your time writing about something that won’t make you money later on, unless making money is not a reason of you wanting to start a blog.
Here is a list of some mom blogging niches that you can consider. They are broad and you can break them down into categories that focus on a specific topic.
For example, taking the home décor niche you can have the following categories; kitchen décor, bathroom décor, bedroom décor etc.
- Parenting
- Budgeting
- Beauty
- Fashion
- Homeschooling
- Making money
- Crafts
- Pregnancy
- Food/recipes etc.
2. Choose a domain name
After picking your blog niche it’s time to choose your blog domain name. People get to remember your blog by the name you decide to name your blog.
In my case, my domain name is dreamincomeguide.com. I wanted to blog about money and hence the use of the word “income” in my domain name.
To help you pick your domain name, you can consider your niche and have a keyword in the name. A good example is Lindsay’s food blog – pinchofyum.com
You can also use your name as your blog’s domain name. Whatever you choose make sure that it’s easy to write and remember. Having a .com extension is most preferred but not a must.
This post contains affiliate links, which means I may receive a small commission, at no cost to you, if you make a purchase through a link.
3. Get web hosting
So far so good! At this point you need to buy hosting from a web hosting provider like Bluehost in order to be self-hosted.
The advantages of having a self-hosted blog as opposed to having a hosted blog (using Blogger.com, WordPress.com etc.) is that you are able to monetize and have more control over your blog.
To get self-hosted, I recommend new bloggers to use Bluehost. And it’s all for good reasons. With Bluehost you get:
- Affordable introductory pricing – $3.95/ month
- Free domain name for the first year ($15 value)
- Free SSL certificate
- 99.9% server uptime
- 1-click WordPress installation
- 24/7 customer support via web chat or phone and much more.
Here are the steps to follow to register your domain name and get web hosting on Bluehost:
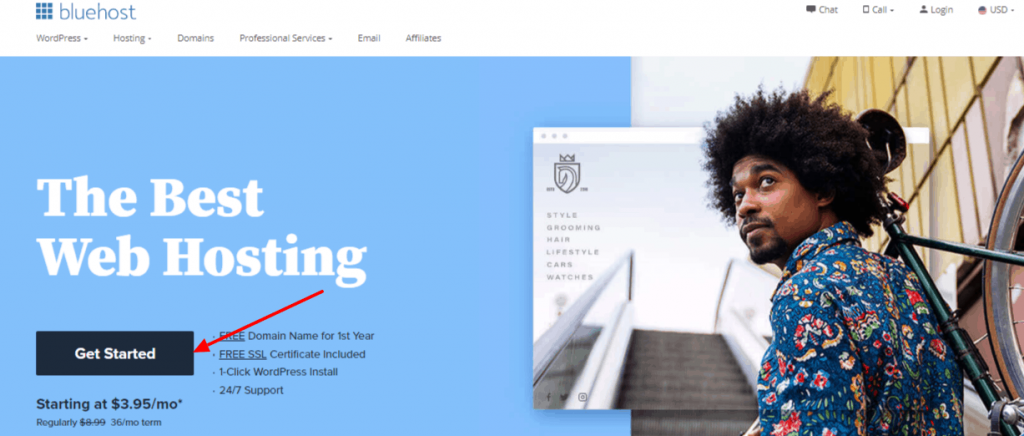
Step 1: Visit Bluehost.com
Click here to visit Bluehost and then click the “Get Started Now” button. By using my Bluehost link you get a special discount price of $3.95 per month.
Step 2: Choose a hosting plan
When you are just getting started with blogging, the Basic plan is enough. However, if you plan on having more than one blog you can pick either the PLUS or CHOICE PLUS plan.

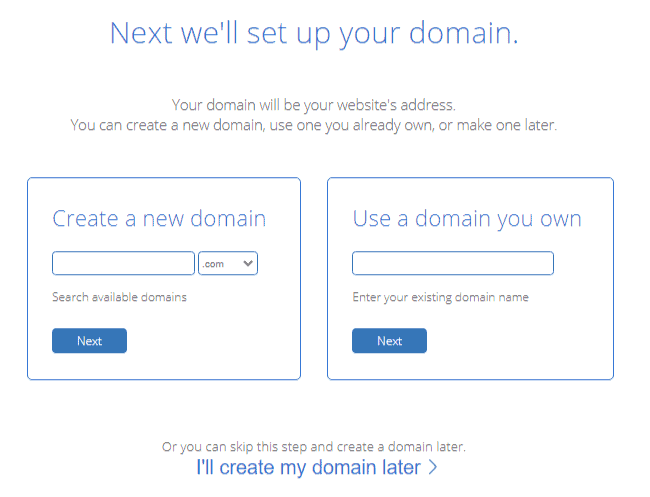
Step 3: Enter the domain name
It’s time to create you domain name. Enter the domain name that you chose for your blog. You can also click “I’ll create my domain later” if you haven’t decided on a name yet.
Step 4: Enter your personal
Fill in your personal information here.

Step 5: Choose an account plan
Under the Package Information, choose the best account plan for you. You can choose the 36,24 or 12 month basic price plan. Uncheck the package extras – you don’t need them.

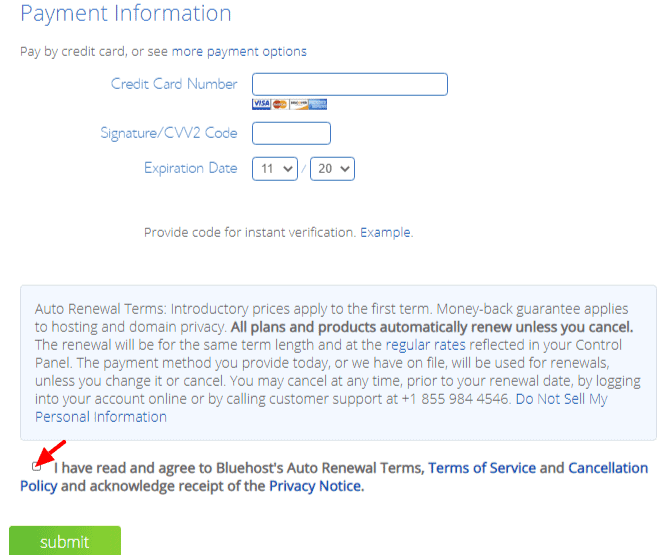
Step 6: Fill in your payment information, check the agreement box and submit
Step 7: Create a Password
Next you need to choose a strong password for your account, confirm it and then log in.
Step 8: Install WordPress on Bluehost
You will be asked to choose a theme. You can skip this step or pick the Astra theme.
Am currently using the free Astra theme which is lightweight, frequently updated and easy to customize.
You can also use premium themes which have more added features and are highly customizable like Astra Pro.
Tip: In the beginning focus on creating quality content first! You can change your blog design later.
Next step click on the “Start building” button.
Blluehost will ask “What kind of site can we help you set up?” Click on “I don’t need help”.
You are Done! Congratulations! You finally have a WordPress blog.
Ready to start a mom blog? Get started for $3.95/month and get a FREE domain for a year which normally cost $15/year.
4. Install WordPress plugins
WordPress plugins helps to add more functionality to your blog. To install new plugins go to Plugins> Add new and then search for the plugin you want. Here are some important free plugins you need to install in your blog:
- Yoast SEO – best for SEO optimization.
- Updraftplus – best backup plugin for your blog.
- Antispam Bee – best for controlling comment spam.
- Scriptless social sharing – I personally use it but you can also use other social sharing plugins like Warfare and Sassy social share.
- WordFence – best security plugin to help against hackers and malware.
Before you publish your first article change the default Permalinks. Go to settings > Permalinks. “Choose Post Name” and save the changes.
5. Write your first blog post
It’s now time to start writing content for your blog. You need to write quality content that answers your readers’ questions and provides a solution to their needs. Writing for the first time may seem a little daunting but it’s doable.
Make your articles easy to read by using short paragraphs of not more than 3 sentences. Also ensure that you write long form content that is tailored for your specific audience.
6. Promote your blog
After writing articles, you need to have people reading your great content. I recommend using Pinterest to get traffic to your new blog. You can also use Twitter, Facebook and Instagram to promote your blog.
Apart from using social media, you also need to learn basic SEO so as to rank on search engines like Google and Bing.
If you haven’t started a mom blog yet, head over to Bluehost to start your self-hosted WordPress blog!
Do you have any blogging questions? Let me know in the comments section below.
Is one allowed to use pictures from the internet when creating content?
Is one allowed to use pictures from the internet when creating content? How often must you write an article like would that demand too much time investment?
Hi Agnes, it is illegal to use pictures and images from the internet without permission. However, there are free sites you can download pictures without needing to ask for permission. They include: pixabay, pexels and unsplash.
On your next question, writing is time consuming more so for newbies. Plan how many articles you will write per week and stick with it.